Log in
Similar topics
Latest topics
Saturday 7/7/18
2018-07-07, 21:07 by Gary M Jones
I was at the field today between 14:00 & 15:00 all on my own , good flying too. There is a dead sheep along the fence line towards the gate from the pits, I saw the farmer so reported this to her. I hope no one had plans for a BBQ  .
.
Farmer …
Farmer …
Comments: 1
Wot 4 Mk3 Kit Build
4 posters
Page 1 of 1
 Wot 4 Mk3 Kit Build
I like reading these build threads so here is one of my own.
Chris Foss Wot 4 MK3 Classic. Bought this off my friend who has moved onto full size.
Engine is ether a os40 max fp or a asp 61 fs.
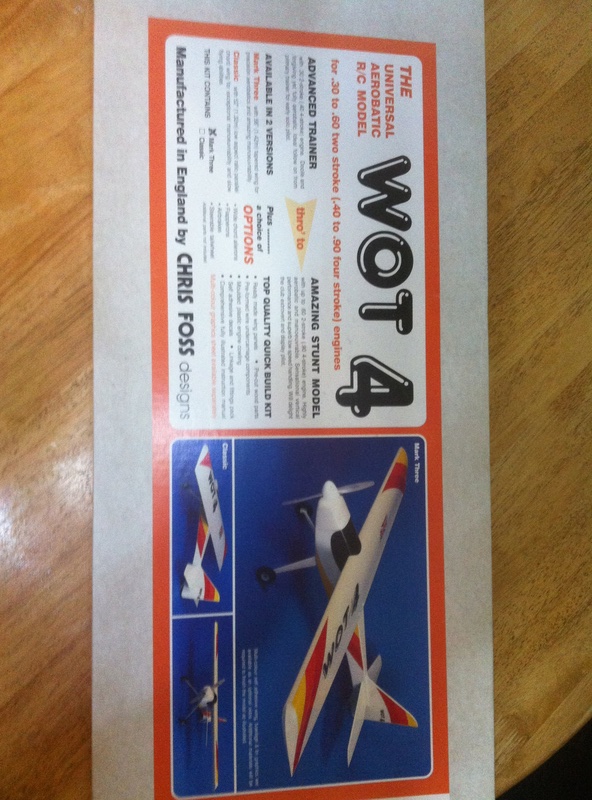
Kit contents and very nice foam wings.

Leading edges glued on.
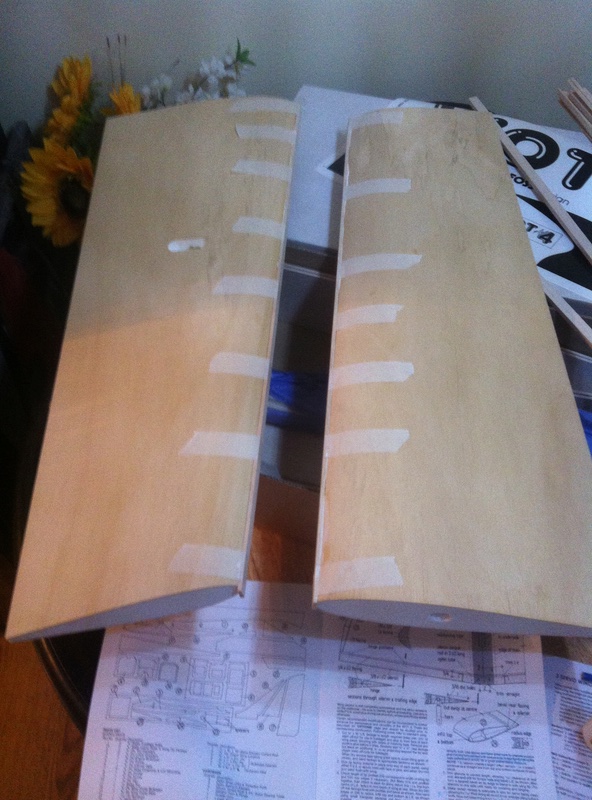
Leading edges and trailing edges glued on. Ready for sanding.
Instructions crossed out so I don't screw the options up, which for me is 2 aileron servos.
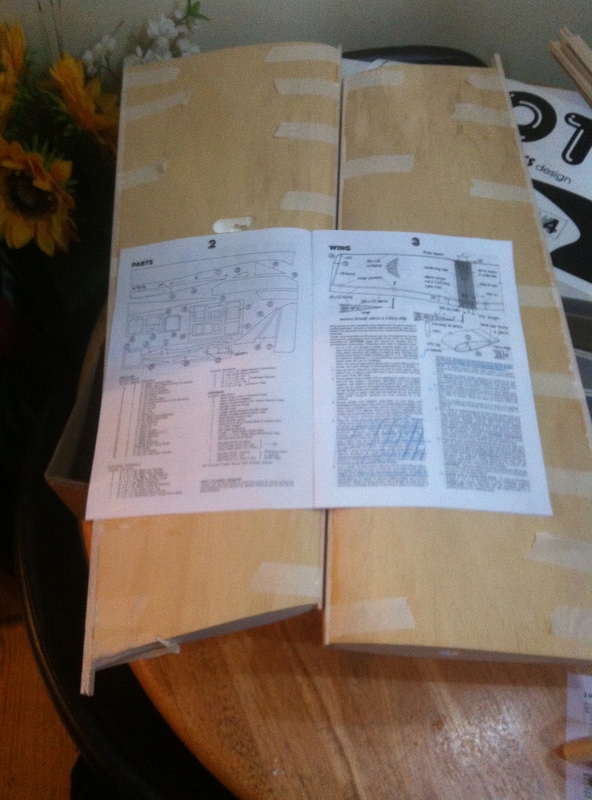
Wing tips glued on ready for shaping, I cheated and used epoxy.
Wing tip profiles dry built ready for glue.

Wing tips shaped and finished and I used some 1/2 stock balsa instead of the suggested 1/8 triangle scraps.
Le and te now shaped to wing profile.

Wing joined and some cable left in for pulling the servo extensions through.
Next job on wing is to square off the leading edge but can't do that until fus is done.

Chris Foss Wot 4 MK3 Classic. Bought this off my friend who has moved onto full size.
Engine is ether a os40 max fp or a asp 61 fs.

Kit contents and very nice foam wings.

Leading edges glued on.

Leading edges and trailing edges glued on. Ready for sanding.
Instructions crossed out so I don't screw the options up, which for me is 2 aileron servos.

Wing tips glued on ready for shaping, I cheated and used epoxy.
Wing tip profiles dry built ready for glue.

Wing tips shaped and finished and I used some 1/2 stock balsa instead of the suggested 1/8 triangle scraps.
Le and te now shaped to wing profile.

Wing joined and some cable left in for pulling the servo extensions through.
Next job on wing is to square off the leading edge but can't do that until fus is done.

Andyedmead- Posts : 67
RDMFC Bonus points : 107
Join date : 2017-04-17
 Re: Wot 4 Mk3 Kit Build
Awesome glad your doing a thread, a proper wot 4 too.

Mark Barnes- Club Secretary
- Posts : 6607
RDMFC Bonus points : 8240
Join date : 2008-11-16
Location : Rhyl North Wales
 Re: Wot 4 Mk3 Kit Build
After another evening in the garage and not so fast progress I asked myself why didn't I buy an ARTF.
And I very nearly F***** up.
I had to make my mind up about the engine, have gone for the Asp 61 fs.
Anyway have managed two identical fuselage sides, pics to follow.
And I very nearly F***** up.
I had to make my mind up about the engine, have gone for the Asp 61 fs.
Anyway have managed two identical fuselage sides, pics to follow.
Andyedmead- Posts : 67
RDMFC Bonus points : 107
Join date : 2017-04-17
 Re: Wot 4 Mk3 Kit Build
Left and right sides made and weighted down to keep straight not identical sides as I said before.

Sides complete with ply and longerons.

1 " Spacer to set back bulkhead for bigger engine. You can always add some sort of spacer later but you can't change the bulkhead position once it's built so best to set it back. One advantage over the ARTF version I suppose.
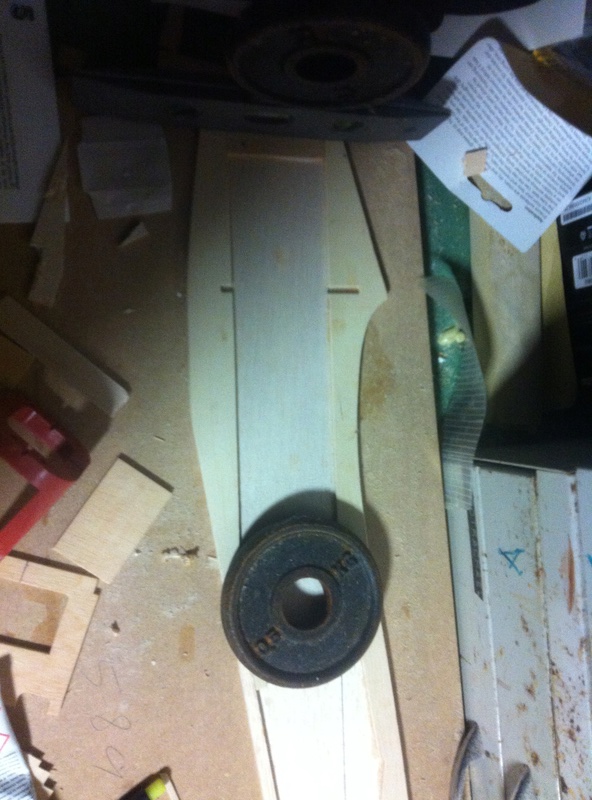
Very important job now setting the Bulkhead hopefully nice and straight and 90 degrees.

Same for Former 2 ensure its nice and square
Now time to join the other side, still laid flat and weights added to keep it in postion after checking formers are still square.
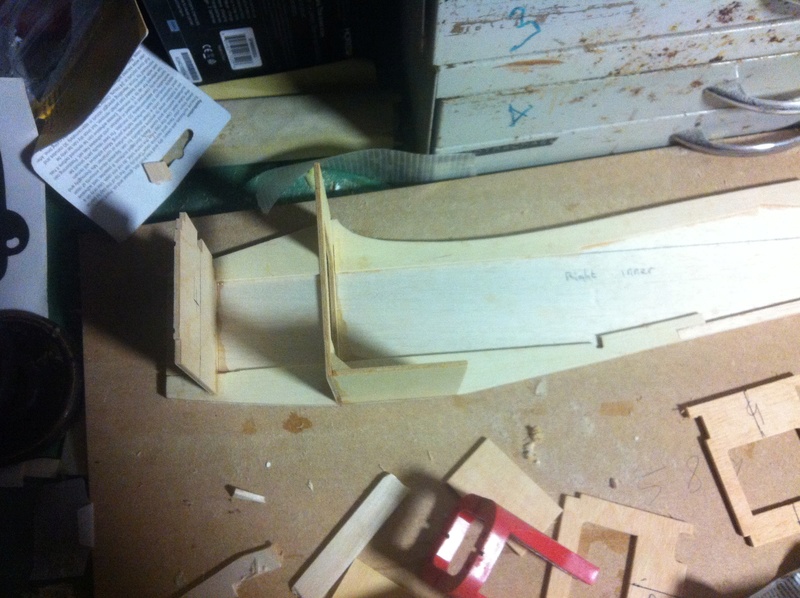

All the time whist building the fus keep checking that its not twisted.


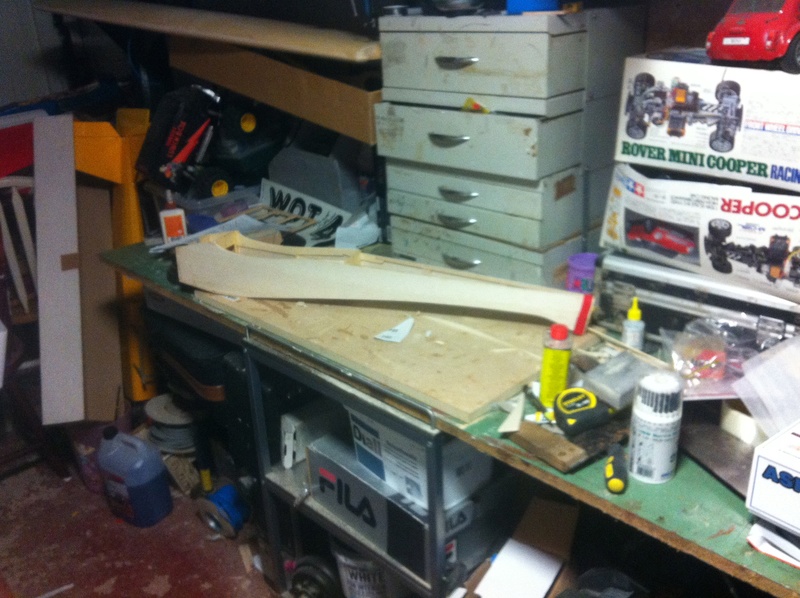
Note Velco strap to hold side together before glue.


Sides complete with ply and longerons.

1 " Spacer to set back bulkhead for bigger engine. You can always add some sort of spacer later but you can't change the bulkhead position once it's built so best to set it back. One advantage over the ARTF version I suppose.

Very important job now setting the Bulkhead hopefully nice and straight and 90 degrees.

Same for Former 2 ensure its nice and square
Now time to join the other side, still laid flat and weights added to keep it in postion after checking formers are still square.


All the time whist building the fus keep checking that its not twisted.


Note Velco strap to hold side together before glue.


Andyedmead- Posts : 67
RDMFC Bonus points : 107
Join date : 2017-04-17
 Re: Wot 4 Mk3 Kit Build
looking well Andy

Mark Barnes- Club Secretary
- Posts : 6607
RDMFC Bonus points : 8240
Join date : 2008-11-16
Location : Rhyl North Wales
 Re: Wot 4 Mk3 Kit Build
Fiber glass Join on wing, may have used a little too much hardener but did come out strong.

Cut out for servo.

Covered wing in solar film, not 100% happy with my covering skills, a few wrinkles but at least I can say I built it myself. Still have to shape the control surfaces for the wing then hinge etc.
Had a good tip off Mike S to use some masking tape to cover the fiber joins before covering, worked well and it hides the joins.

Fus can be finished now, getting there slowly.

Cut out for servo.

Covered wing in solar film, not 100% happy with my covering skills, a few wrinkles but at least I can say I built it myself. Still have to shape the control surfaces for the wing then hinge etc.
Had a good tip off Mike S to use some masking tape to cover the fiber joins before covering, worked well and it hides the joins.

Fus can be finished now, getting there slowly.
Andyedmead- Posts : 67
RDMFC Bonus points : 107
Join date : 2017-04-17
 Re: Wot 4 Mk3 Kit Build
good job, solar film wrinkles can be removed with carfull use of a heat gun.
I really should get on with my builds
I really should get on with my builds

Mark Barnes- Club Secretary
- Posts : 6607
RDMFC Bonus points : 8240
Join date : 2008-11-16
Location : Rhyl North Wales
 Re: Wot 4 Mk3 Kit Build
Starting to look like an aircraft now.
Time to align the wing and drill the holes for the dowels and captive nuts after checking measurements.

Added some square hardwood behind the main bulkhead to give it strength.

In the build instructions it tells you to drill for the captive nuts and glue them in. I have put them in behind the fixing plate so they can't come out. I have also glued in the captive nuts for the under carriage.

Next job is to make an Isopon fairing for the wing and to shape the fus.
Time to align the wing and drill the holes for the dowels and captive nuts after checking measurements.

Added some square hardwood behind the main bulkhead to give it strength.

In the build instructions it tells you to drill for the captive nuts and glue them in. I have put them in behind the fixing plate so they can't come out. I have also glued in the captive nuts for the under carriage.

Next job is to make an Isopon fairing for the wing and to shape the fus.
Andyedmead- Posts : 67
RDMFC Bonus points : 107
Join date : 2017-04-17
 Re: Wot 4 Mk3 Kit Build
So finally managed to get back to my build.
Just got to Cover it and install engine servos etc, next post hopefully show the finished thing.
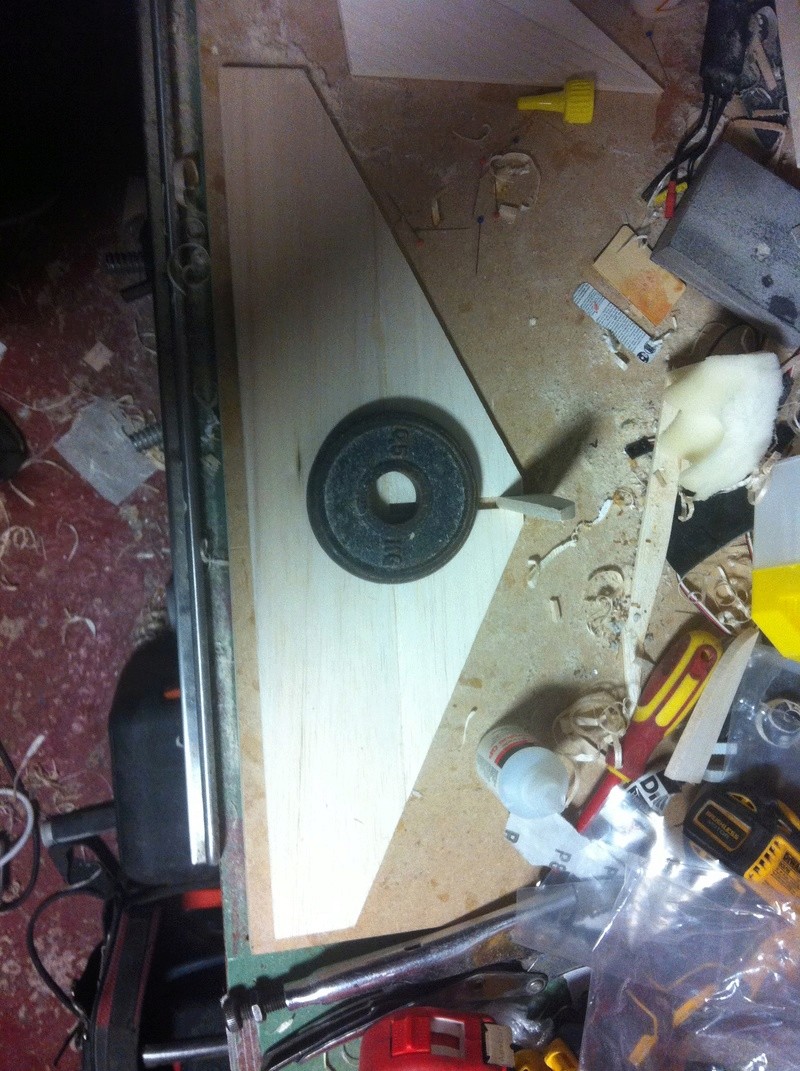
Glue the horizontal tail stabilizer together.
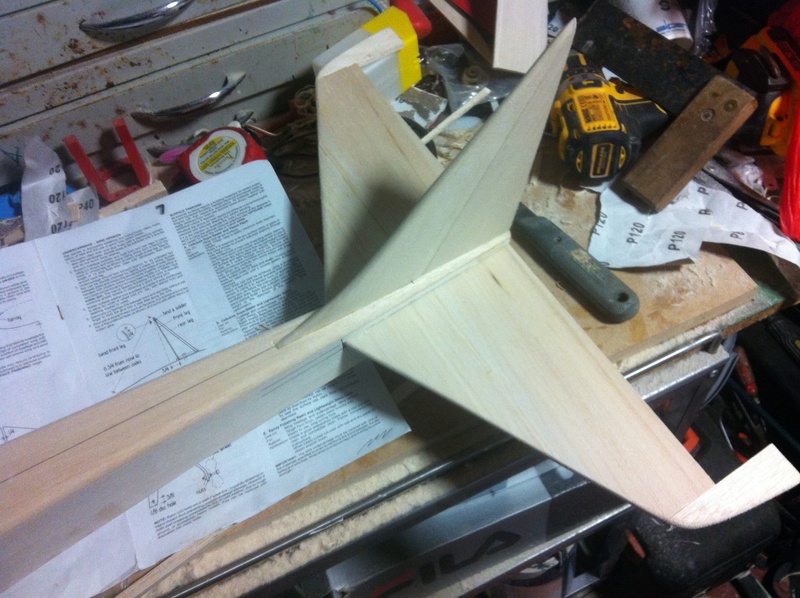
Dry fit the Vertical stabilizer

Sand the rudder and elevators to shape.

Fit the Tail and check all measurements.
Started to build a fairing out of Isopon.

Sanding the fairing into shape.

Fairing starting to take shape now
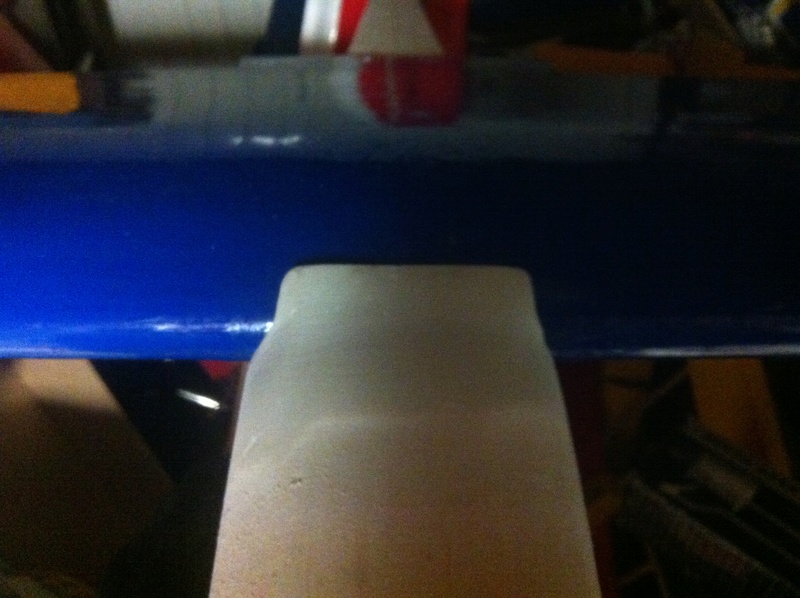
Almost finished fairing.
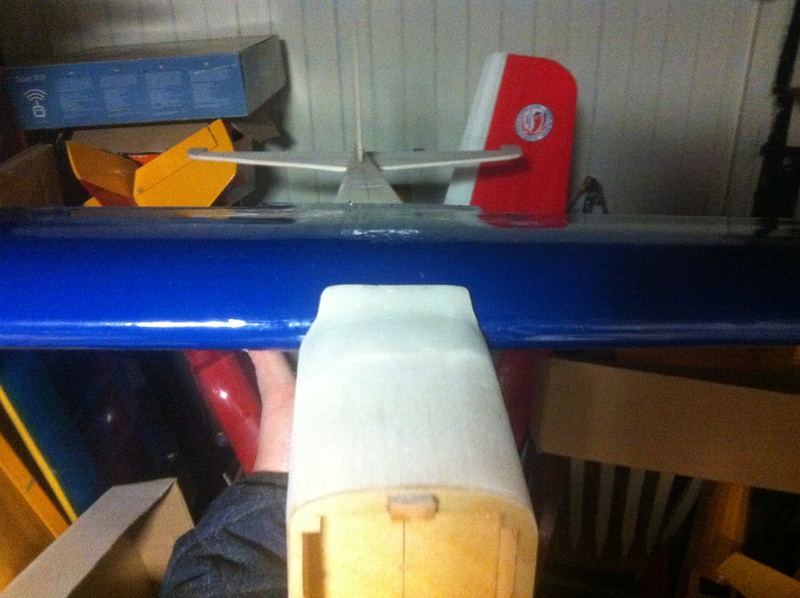
Hopefully I've done a good job and it's all straight Fingers crossed, I'm certainly no master builder!
Just got to Cover it and install engine servos etc, next post hopefully show the finished thing.
Glue the horizontal tail stabilizer together.

Dry fit the Vertical stabilizer

Sand the rudder and elevators to shape.

Fit the Tail and check all measurements.

Started to build a fairing out of Isopon.

Sanding the fairing into shape.

Fairing starting to take shape now

Almost finished fairing.

Hopefully I've done a good job and it's all straight Fingers crossed, I'm certainly no master builder!
Andyedmead- Posts : 67
RDMFC Bonus points : 107
Join date : 2017-04-17
 Re: Wot 4 Mk3 Kit Build
Slowly making progress now.
Engine Installed
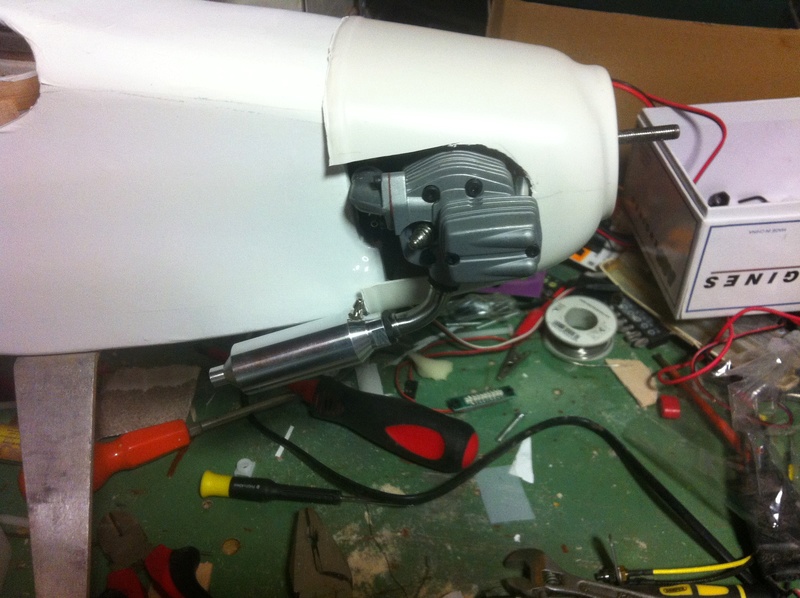
8 oz Fuel Tank ready to be installed.
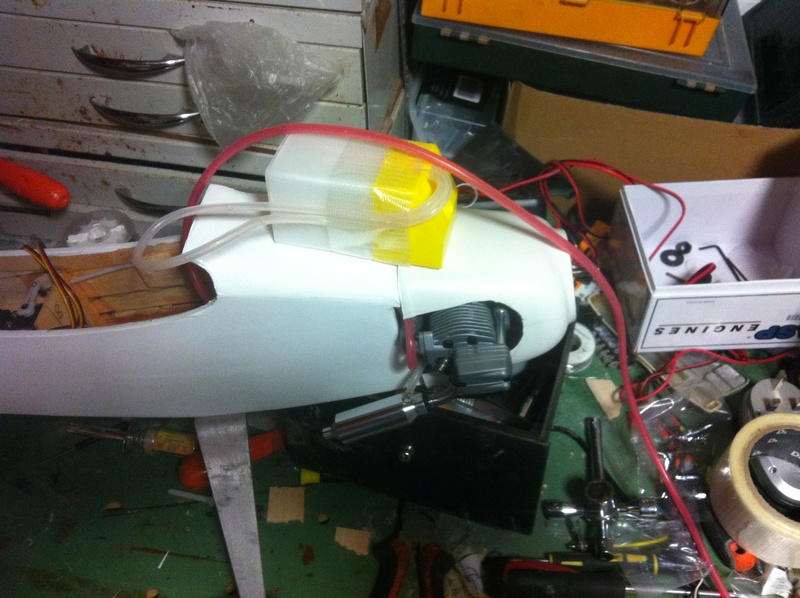
Tank Tidy / Filler Installed.

Servos installed

Spinner Installed.
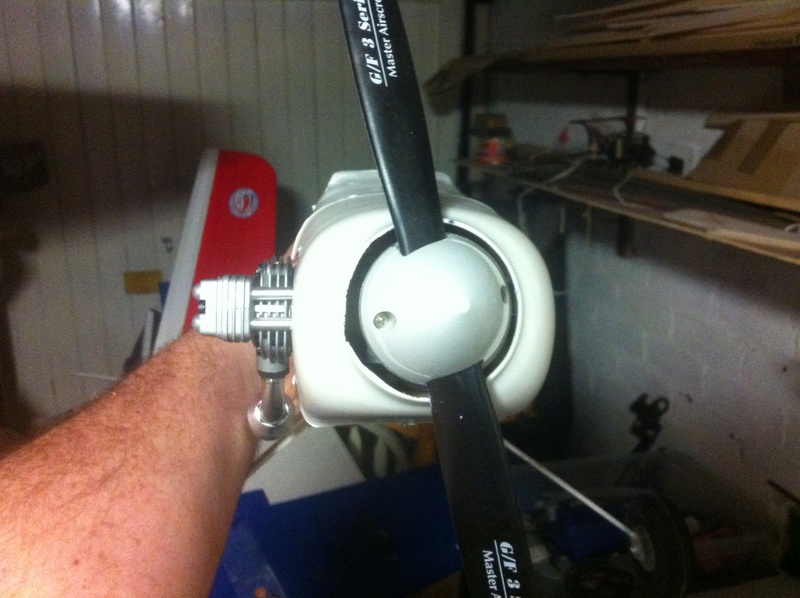
Almost Done now.


Ran the engine up today Started almost straight away once I found the right plug for it.
Just have to install the aileron control rod have a tidy up add the stickers then fly it.
Hopefully next photo will be of it flying.
Andy
Engine Installed

8 oz Fuel Tank ready to be installed.

Tank Tidy / Filler Installed.

Servos installed

Spinner Installed.

Almost Done now.


Ran the engine up today Started almost straight away once I found the right plug for it.
Just have to install the aileron control rod have a tidy up add the stickers then fly it.
Hopefully next photo will be of it flying.
Andy
Andyedmead- Posts : 67
RDMFC Bonus points : 107
Join date : 2017-04-17
 Re: Wot 4 Mk3 Kit Build
What size / make is the 4-stroke?
Gary M Jones- Posts : 203
RDMFC Bonus points : 341
Join date : 2009-10-05
 Re: Wot 4 Mk3 Kit Build
Gary, it is an ASP AR 61.
Andyedmead- Posts : 67
RDMFC Bonus points : 107
Join date : 2017-04-17
 Re: Wot 4 Mk3 Kit Build
Nice work Andy

Mark Barnes- Club Secretary
- Posts : 6607
RDMFC Bonus points : 8240
Join date : 2008-11-16
Location : Rhyl North Wales
 Re: Wot 4 Mk3 Kit Build
Well done! Hope to see it flying soon...

Allan Patrick- Committee Member
- Posts : 1620
RDMFC Bonus points : 1842
Join date : 2009-07-19
Location : Colwyn Bay
Page 1 of 1
Permissions in this forum:
You cannot reply to topics in this forum
» Need help on how to just directly power my Detrum RXC6 6CH 2.4Ghz Receiver?
» 2019 Llanfair TH Village Fete
» Police crash
» Bit of indoors